Honey and Olive Oil Cake
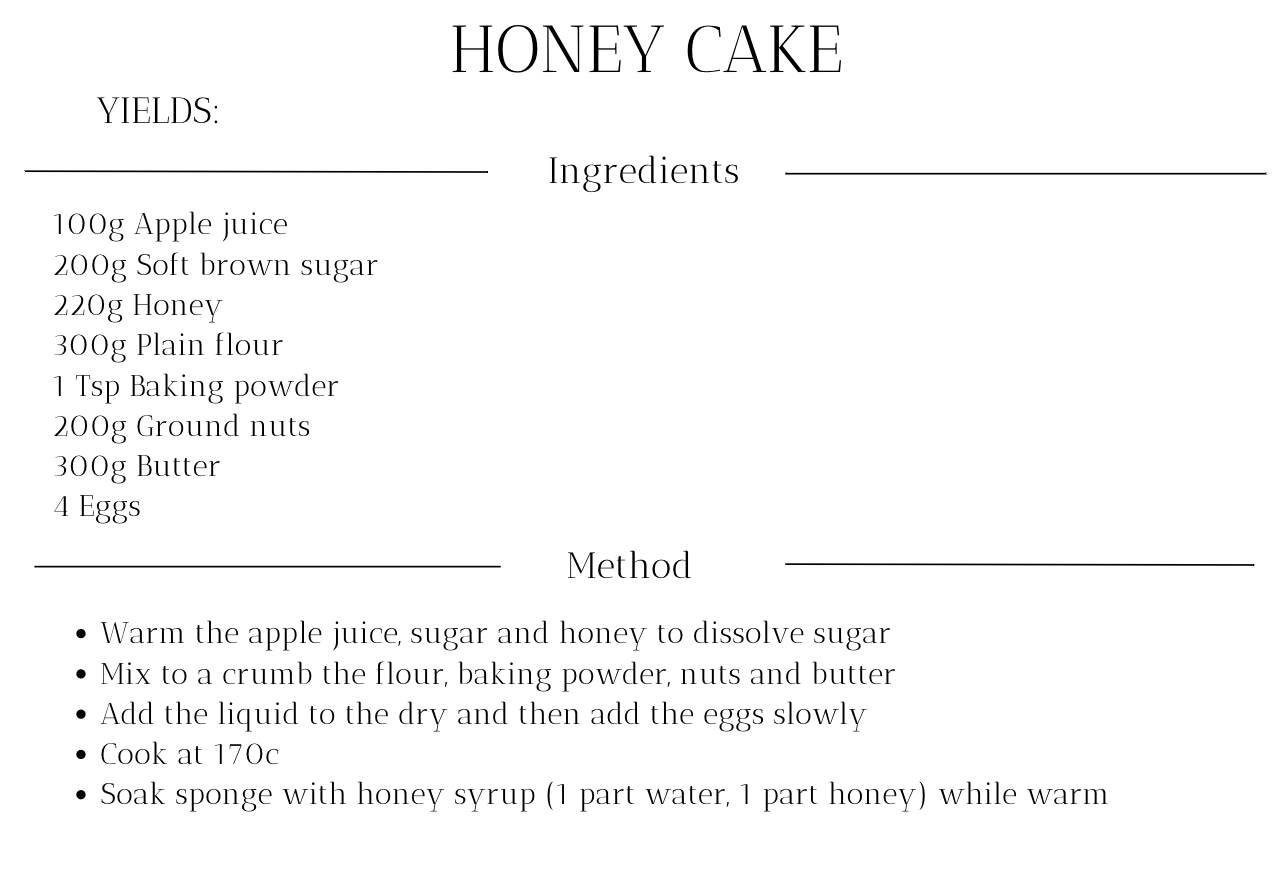
Thank you to everyone who commented on Instagram and sent me messages to get the recipes of my honey and olive oil cake. I wasn’t expecting such a reponse so thought it would be easier to lay it out here so I can cover it in as much detail as possible rather than just sending pictures of the base recipes.
These recipes have been written for chefs, so if there is anything that doesn’t quite make sense of unfamiliar words, feel free to message me on Instagram for help and clarification
First of all, it is important to note that the details are important on this dish. The most notable are, 1, making sure there is enough cream around the cake (by not pushing the cake in the mould too far) so that you can stamp in the letters nicely. The other is making sure you fill up the cavity at the end with enough gel that it starts to come through the tuile, giving the effect of fresh honeycomb being squeezed and all the honey oozing out. This also allows the flowers to stand up well.
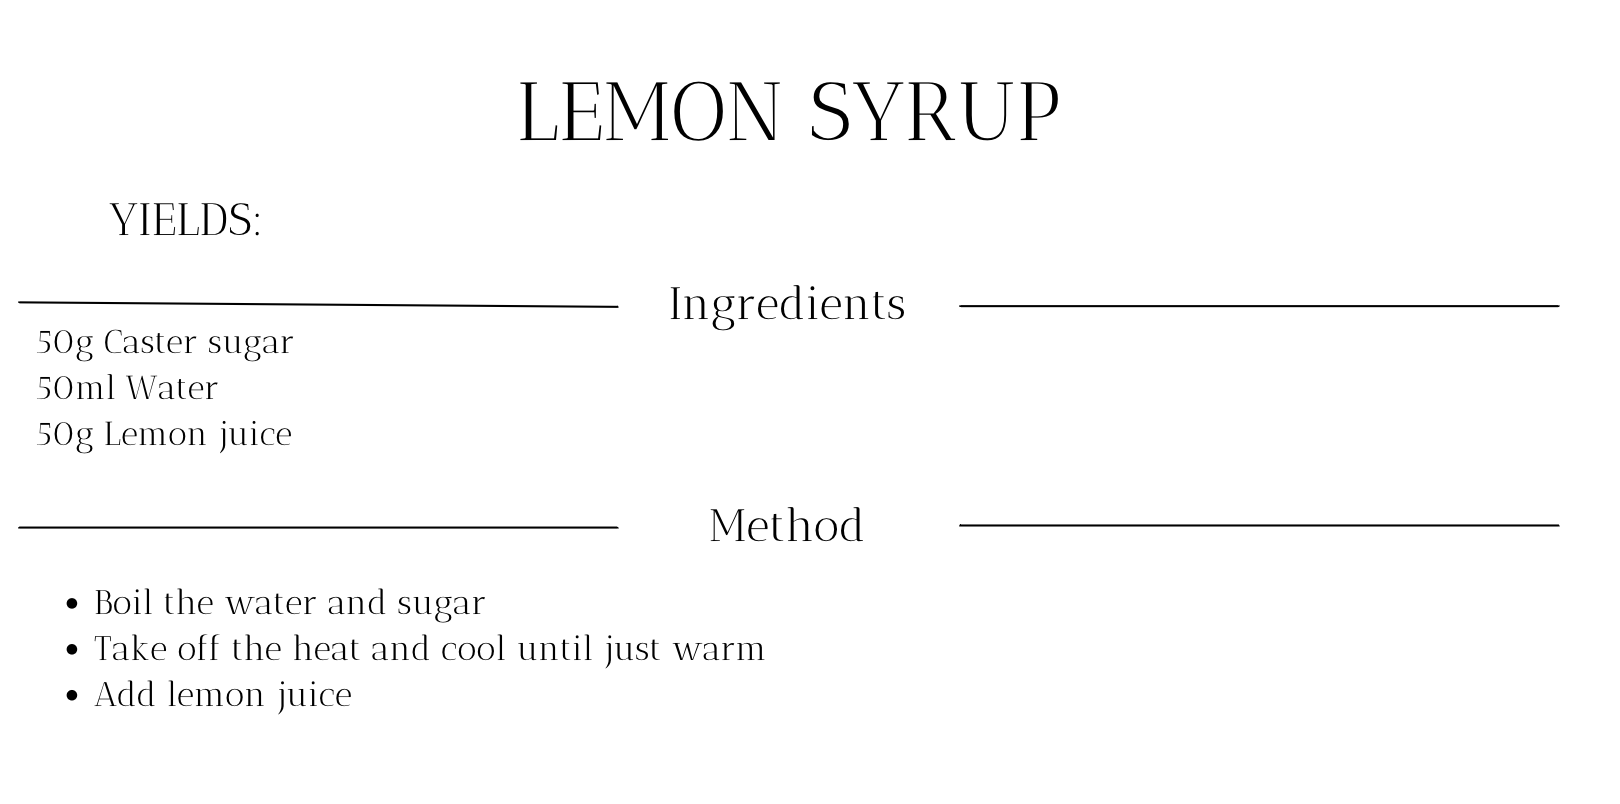
So firstly start with the honey cake. You want to half fill the moulds and cook these for about 10-12 minutes, let them cool and then dip them in warm lemon syrup (ignore the last step and use the recipe below instead) for about 10 seconds before freezing them.
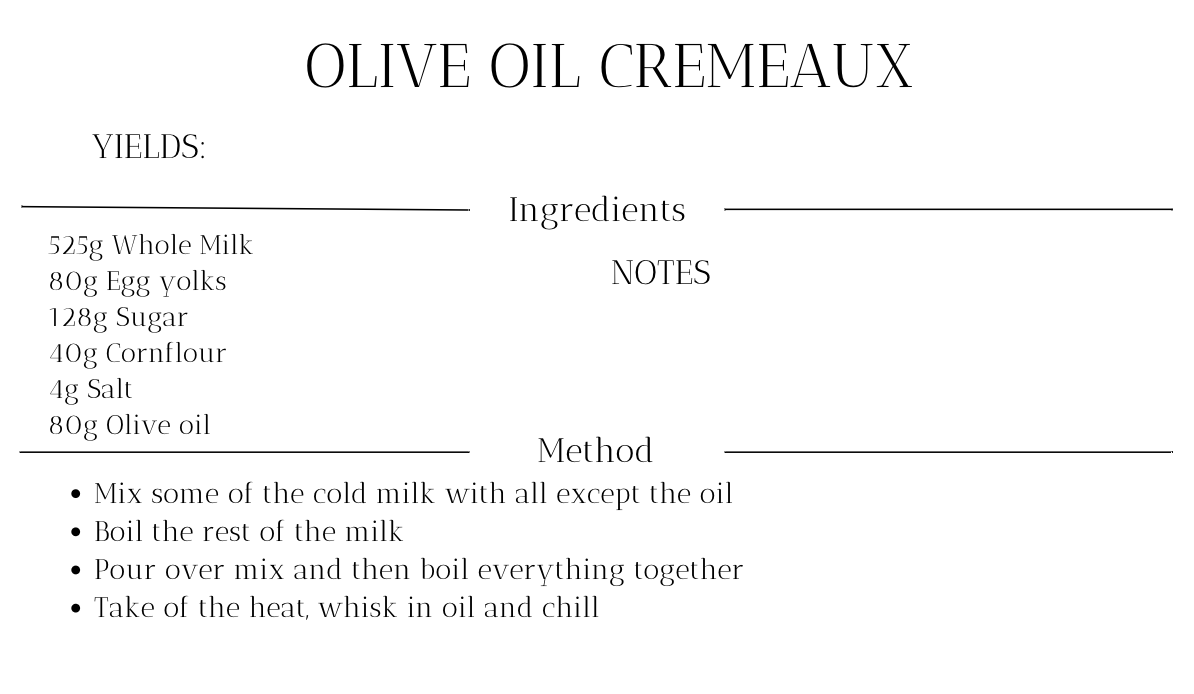
Olive Oil Cream
Once the cakes have hardened in the freezer, make the cream and chill it. Once cooled, whisk it to make it smooth and soft before piping it into the moulds, injecting the cakes as per the video.
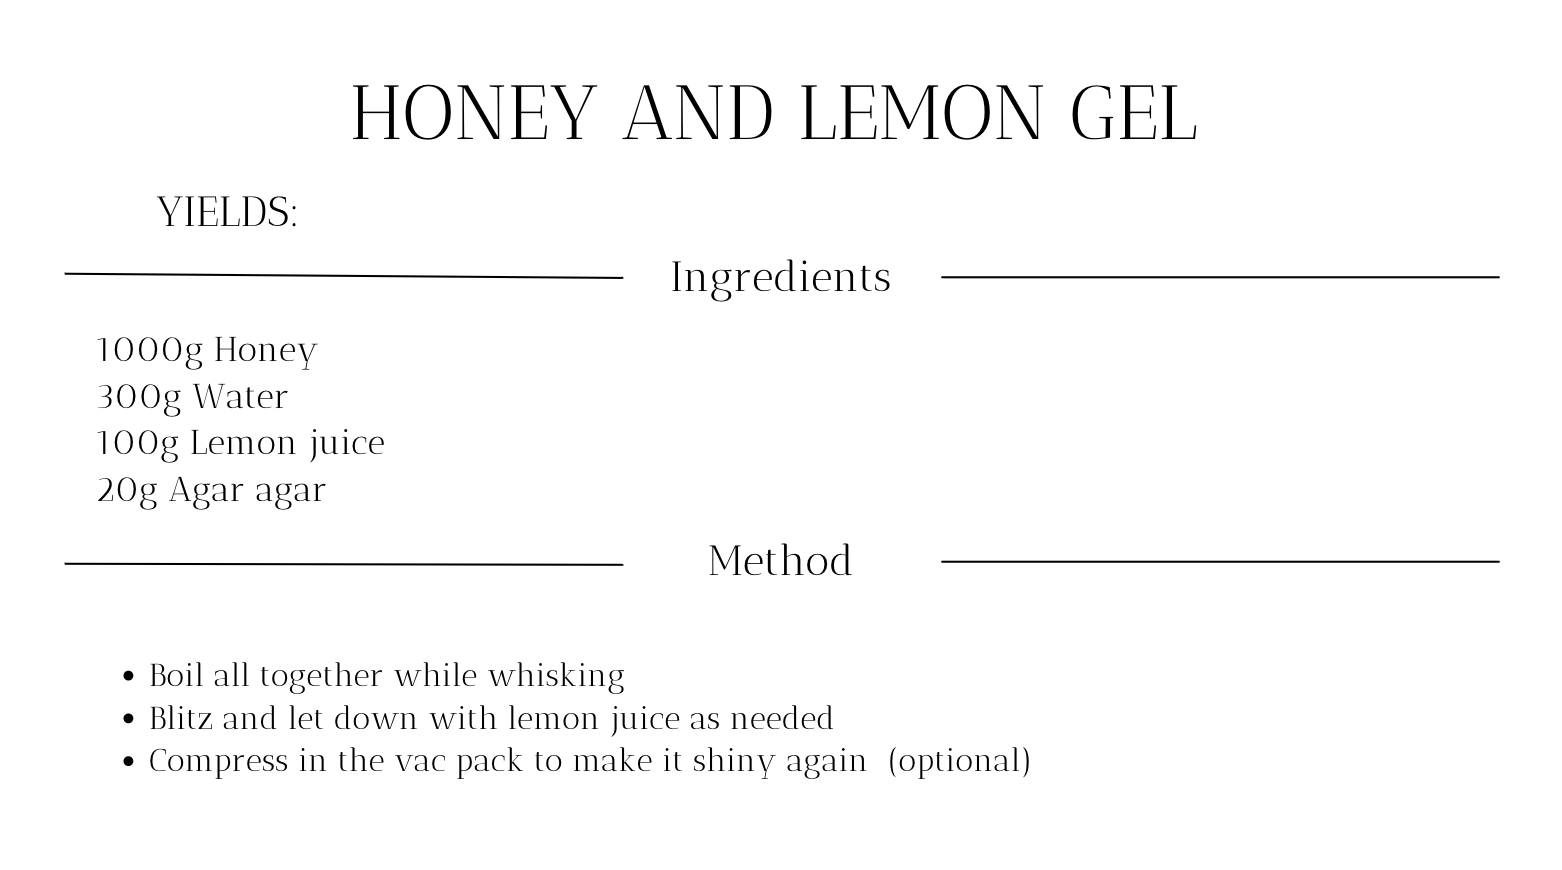
The Garnishes
Firstly make the honey gel and get it into a squeeze bottle ready for plating
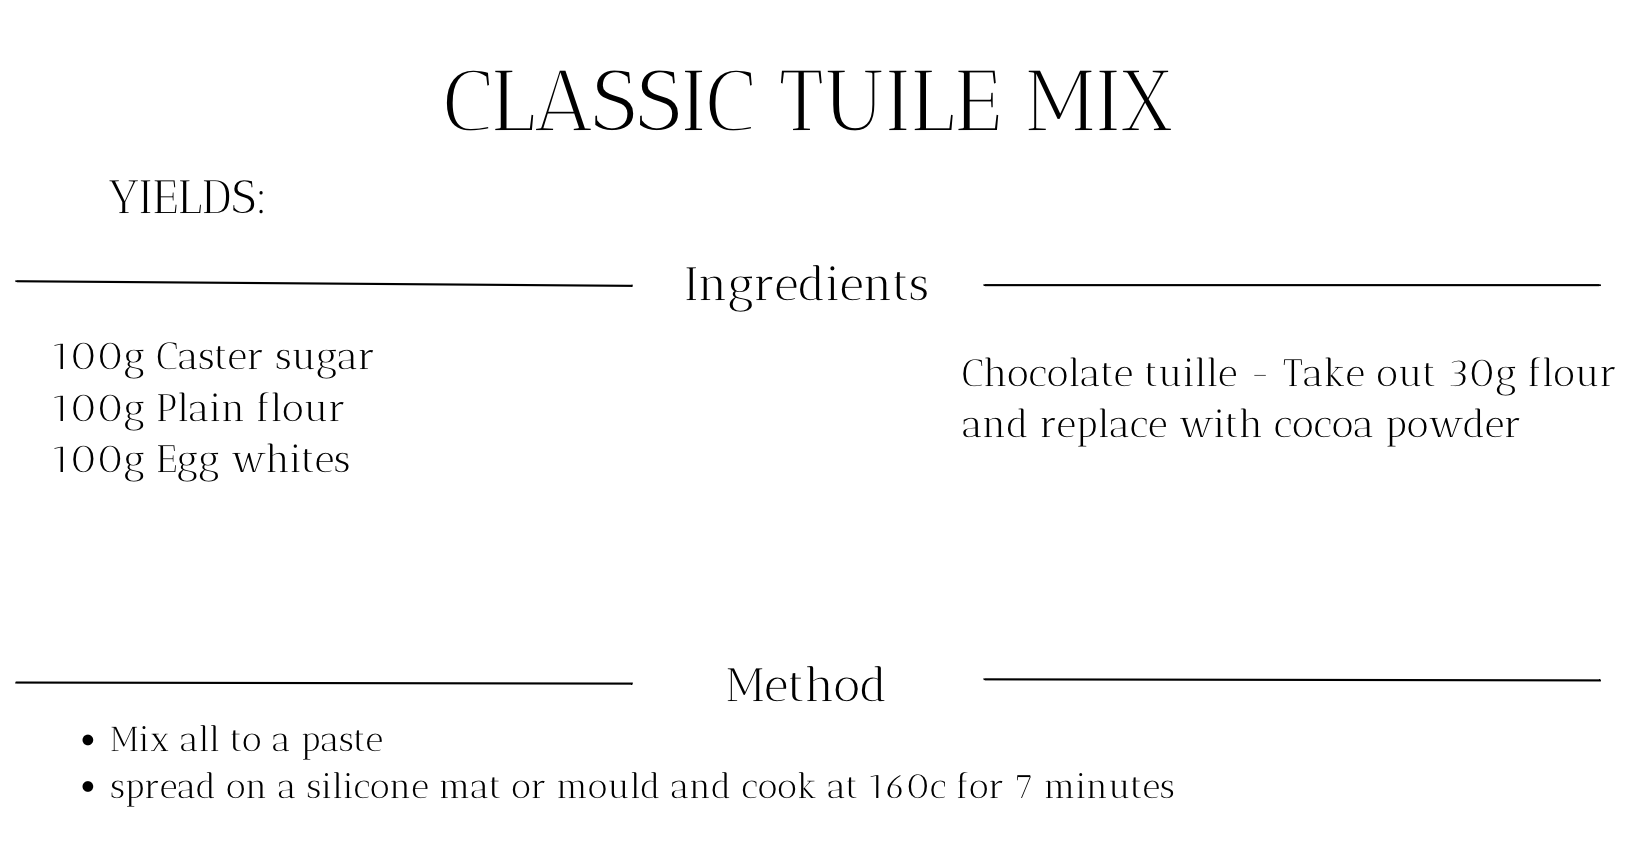
Honeycomb Tuile
For the tuiles just make the mix below by mixing everything together until smooth and add 1/4 tsp of yellow colouring. then us a palette knife to press the mix into honeycomb moulds (available from MSK food supplies).
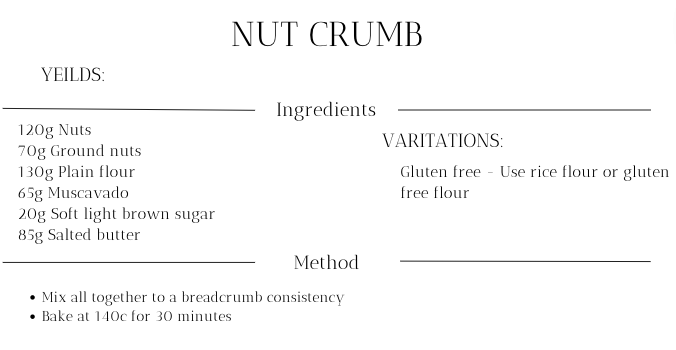
Pistachio Crumb
This crumb can be used for any nuts so I have left it generic, however pistachios work best here.
Chocolate Bees
For the bees the recipe is simple but will take some practice. You take some tempered white chocolate and add fat soluble yellow colour to half of it (if you don’t know how to temper chocolate then get in touch and I can recommend a good video) You then us a piping bag (preferably a piping cone) and pipe two connecting dots, one double the size of the other. You then use the white chocolate without the colour to pie the wings in the gap where the two dots meet.
Let the chocolate set and then use a black edible pen (available from Amazon) to draw on the stripes.
Finishing
For finishing, take out the cakes and stamp them while they are still semi-frozen. Leave them to come up to room temperature. Place on the rest of the garnishes and use edible flowers and ideally tarragon cress for the best effect in the top, using the honeycomb tuile like a planter and the gel underneath to keep them upright.
For more recipe like this in full video lesson format see my online courses here.


